Showing posts with label Parties. Show all posts

Monday, November 5, 2012

Come to Aaron's Art Show


That's right!
Aaron is having a show.
I've been an art widow for the last month or so as Aaron has been in his studio every night, painting feverishly until the wee hours.
Many nights he'd come to bed after 2.
And get up the next morning and go to work.
I don't know how he did it.
But he says when he gets in a creative groove he looses all track of time and the next thing he knows is it is 3 am and he still wants to keep painting.

The hard work paid off because he has some great pieces.
His color palette is beautiful.
Aaron loves color and it shows in his work.
He is also fun.
And so is his art.
Who he is and what he loves comes out so clearly in his paintings.
I know he'd love to sell them, but I admit to being sad to see them go.

On Sunday morning he loaded up his car with all his work, and went to hang his show.
His art looked even looks good hanging out in his car.


And after a month of hardly seeing one another, that night we went on a date.
Of course we stopped by the wine bar that is hosting the show to see it all hung up.
This picture doesn't do it full justice.
It looks fabulous!
Here's a sneak peek for those of you who won't be able to make it.
 If you are a local, please consider dropping by.
The opening will be this Wednesday, Nov. 7th, from 6-10, at Art Du Vin on 4th St, in Long Beach.
Aaron will be there all evening and he'd love to see you.
I'll be there too--I got a babysitter!
(you know that is worthy of exclamation points!)

You can make a fun night of it and go out to eat at Lola's, across the street from the show.
Lola's has amazingly delicious food.
Get the mole.
You will not be disappointed.
Then walk across the street for a glass of vino, and check out some fantastic art.
If vino isn't your thing, there is a coffee shop too, so you can get an evening shot of espresso.
Really, there is something for everyone.

If you are far away and can't make the show, Aaron will have all the pieces up on his blog in the coming month.
He will also be sharing some info about prints of his pieces becoming available in the near future.
So stay tuned, people.
And come to his show!
Love from,
Greta
PS.  If you know anyone else who might like to check out Aaron's work, please share this post with them.  We'd be so grateful.

Tuesday, August 14, 2012

A Book Club Party: A Room With a View

I hosted my book club party this weekend.
It was perfectly wonderful.
I admit, putting together an outside party in 90 + degree heat wasn't my favorite thing to do
but it all came together, and it turned out to be just the kind of party I had envisioned.
Actually, it turned out far better than I envisioned.
Take a look.

We read A Room With a View, by E. M. Forrester.
I admit to suggesting that book with this party in mind.
A major part of the book takes place in Italy, and a summer time, Italian themed dinner seemed like it would be so much fun to create.
It was.
What made it truly amazing though was working with my partners, Brianne and Kristin.
Kristin is an incredibly talented photographer, and Brianne is an incredibly talented stylist.
Together they have been featured on numerous blogs, in magazines, and are downright famous.
The chance to host a party with them was pretty great and I knew to expect something out of the ordinary.
But even so, I was rather blown away by it all.
The attention to the details, both large and small, is beyond impressive.
To give you an example, Brianne pulled up in my driveway, opened the back of her van, and said to me with a smile, "I don't mess around, Greta."
And then she started wrestling that yellow dresser out the door.
Who brings a dresser to a party?
Brianne is pure awesomeness!
She also brought that huge chalkboard, the window sitting atop the dresser, and heaps of other props: books, lanterns, wooden boxes, even mustaches for the glasses.
My back yard was transformed into a wonderland.
The Italian soda bar was a huge hit. 
Kristin did all the artwork--she's more than a photographer--including these directions for making the sodas.
I now believe that every party should have an Italian soda bar.
Forget the booze bar--Italian sodas are way more delicious.
Maybe I should just have an Italian soda bar set up in my backyard all the time.
I do love that yellow dresser. 
We had favor bags for everyone.
There were Italian candies, candles, and painted mason jars, like the ones scattered around the party.
 There were Italian cookies for after dinner treats. (bought from an Italian bakery--we didn't do everything ourselves)
And there was candlelight everywhere.
Molto romantico.
 Our menu was a spread of Italian themed appetizers.
There was bruschetta, pasta salad, these roasted tomatoes, caprese salad, melon and prosciutto, roasted peppers and squash, and the most amazing crostini I have ever had. (recipe tomorrow)
All the food looked so pretty together.
We were running a bit late, so everyone was pretty happy when we finally let them into the backyard.
There was lots for them to look at.
For a bit, we all just walked around taking pictures.
 And then we ate.
My favorite part of the night, though, was when the sun set, and the candles really began to glow.
We sat around the table and talked about the book.
No one loved it as much as I do.
But I'm OK with that.
I was just happy for the chance to discuss it with fellow book lovers.
And doing it under the lights, outside, around a long table, drinking this for dessert, and lots of laughing together was just icing on the cake.
How fortunate I am to be part of a group of women who are so creative and interesting, so interested in living a beautiful life.
I like to think we are doing a pretty good job at living out George Emmerson's creed: 
Beauty, Joy, Love!
Here's to our literary society!
And here's to Brianne and Kristin, for helping to create the party of my dreams.
You girls are amazing.
Evviva!
Love from,
Greta
For more pictures, go here.  Kristin did an amazing job capturing the beauty of the night.

Tuesday, July 17, 2012

A Paper Doll Birthday Party

Lilly turned 4 at the end of June, and so a sweet, girly, party was in order.
We went with paper dolls.
I got the idea ages ago, but aside from creating a small pin board with ideas, I didn't do a thing until the last minute.
The very last minute.
I read some blogs where the authors talked of prepping party stuff for weeks before the party.
I just can't do that.
Weeks before a party, I am working on some other project, and thinking that I still have tons of time to prep for the party.
And that's why I generally get 2 or 3 hours of sleep before any party I throw.
But it always works out.
This time was no different.
Lilly's paper doll party was a sweet success, and just as cute and girly as I hoped it would be.
I love planning parties for the boys, but let me tell you, these girl parties are pretty fun.

Here's what I came up with for the Paper Doll Birthday Party.
These paper dolls were my inspiration for the party.
I saw them first on this fabulous blog, and then found the whole set here.
You can download and print them for free!
The night before the party I was cutting out lots and lots and lots of these dolls.
They made a very sweet garland.
I just used double sided tape to tape them to some pink sting.  Easy as pie.
I didn't go with any themes for the food--little, doll housy, or any other theme that "goes" with paper dolls.
I try to steer away from that because it usually means more work than I have time for.
Instead I just let the guest of honor choose some favorite things he or she wants to serve at the party.
Lilly went with lots of pink things: pink lemonade, pink cupcakes (these strawberry ones are the best ever and worth every bit of effort it takes to make homemade cupcakes.  which I did.  at 1 AM), strawberries and watermelon, and Pirates Booty.
I hate Pirate's Booty, but she loves it, so her wish trumped my distaste.
I also made some fresh zucchini bread for the grownups.
That's it.
Not a lot, but it was an afternoon party, and the kids didn't really need to eat that much.
I do love the way the table looked with all the pink and the paper doll garlands stung above it.
Target now sells paper straws.
Target, I love and hate you at the same time.
We had to have pink, polka dot, paper straws for the party.
I love a party with a good craft.
We're pretty into art parties around here.
For the paper doll party, I had the girls decorate their own paper dolls.
Aaron drew 2 different paper doll shapes for me and I cut them out on card stock.
I used card stock rather than regular paper so it would have some weight to it and hold up to glue, sequins and the like.
One of the dolls was a ballerina, and the other was just a little girl with pigtails.
I set out colored pencils (these ones with erasers were a big hit), tiny fake flowers, sequins, little jewels, scissors and colored paper to use for making clothes, and cupcake liners to use for frilly skirts.
Every girl made at least one, and most made more.
Even the littlest girls had fun gluing, and drawing faces on their dolls.
The dolls came out so great.
Each one was different and had such personality.
I loved them all.
Here are a few I was able to get shots of.


Don't you just love them all?
Besides making paper dolls, Lilly wanted everyone to get their nails painted.
I had no idea what a hit that would be!
I wish I had pictures, but as I was the one running the nail salon, I don't have a single one.
I highly recommend adding nail painting to a little girl party if you can.
They all loved it.


When the girls grew tired of making paper dolls and their nails were all painted up, I had other spots for them to engage in self directed play.
Now that we have a backyard that has room for all kinds of play, I like to allow time for it at parties.
When there are too many activities scheduled, I get a little frazzled and don't enjoy the party as much.
Maybe the kids don't either.
There was a library spot on top of the playhouse with comfy pillows and a blanket to sit on.
There was lots of chalk for chalkboard drawing.
We sat out all of Lilly's dress up clothes for the girls to wear.
Most of them dressed up and it was so fun to see them climbing the tree, riding the swing, or sliding down the slide in their poofy dresses.
You can see in this picture how sweet they all looked in their tulle.
Lilly's only cake request was pink cupcakes with pink frosting.
I made the same fresh strawberry cupcakes  made last year.
They are so amazingly delicious.
For the frosting this time I did puree the strawberries, but I added too much puree to the frosting and so it got a little (lot) runny. 
It still tasted delicious though.
I used a regular butter cream frosting recipe (this one is really good) and added 1 cup of fresh strawberry puree.
Next time I'll use half a cup.
The party ended with Lilly and her cousin Lizzy blowing out the candle together.
Their birthdays are a week apart and since they are often mistaken for twins, it was perfect for them to share the birthday candle.
I sent the girls home with a simple gift bag decorated with a paper doll.
I bought a package of plain white gift bags from Michael's, and attached a paper doll to it with spray adhesive.
Spray adhesive is my new best friend.

Inside I put 2 more paper dolls and some outfits for her to wear, a "bracelet cuff" of candy buttons and some Mary Jane candies.
Those seemed like appropriate candies for a paper doll party--and you just have to have a little bit of candy at a birthday party, right?


Even though this party was thrown together at the last minute, it still turned out to be sweet and fun, and just as I had hoped it would be for my little girl.
Check back soon for a mini tutorial on how I made the printed out paper dolls for the goodie bags.
And if you're in the mood for more fresh strawberry baked goods, check out my last post on fresh strawberry scones.
Love from,
Greta

Wednesday, June 20, 2012

Diorama Party Part 3: "Home Made" Trophies and Voting Ballots

I meant to get this out last week.
But you know how that goes.
At least for me.
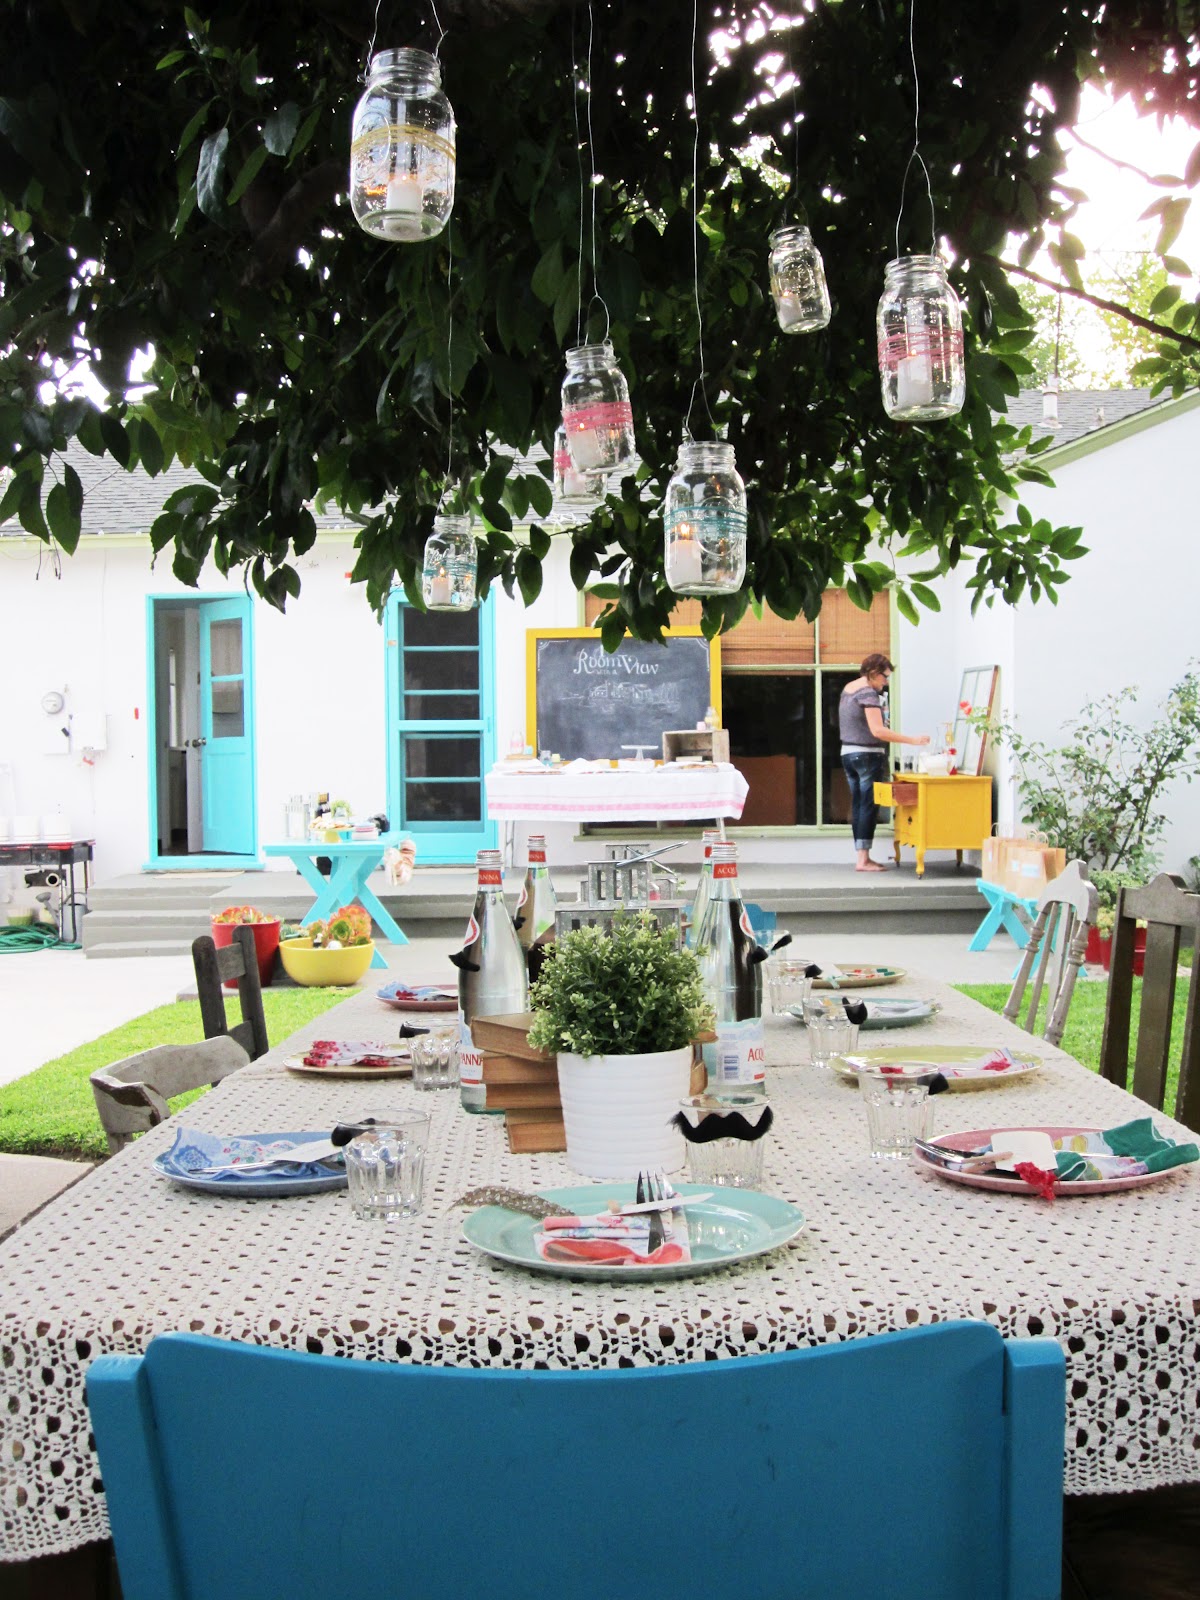
Anyway, this is my last post about the diorama party.
And this isn't really about the dioramas, but just a fun extra I tacked onto the party.

I wanted to give out awards to all the participants at the party.
I wanted there to be voting, I wanted there to different categories for voting, and I wanted awards that were tongue in cheek.
So I spray painted some trophies.
You could use these trophies for lots of other occasions where you want to give out awards that are a bit silly.
You could/should also use them for a kid party sometime.
They are a big hit with the kid crowd.
What kid doesn't love a trophy?
So here goes:
Homemade trophies and voting ballots--a how-to.

Making the Trophies
The trophies themselves were very easy to make.
The hard part was finding the trophies in the first place.
I called some thrift stores first and they all made it sound like I was a bit crazy when I asked them if they had any old trophies.
"No," they said emphatically, "they did not!"
I thought I'd go with another award until James saw a bunch of these at this place.
I wasn't sure how I'd make just the trophy tops work, but at 25 cents apiece, I knew I had to try.
(I was wondering why just trophy tops, and my friend surmised it was because of the kid's names on the trophies.)
Step 1.
We picked out a random assortment of trophy tops, came home and laid them out for spray painting.


Step 2.
I primed the trophy tops.
I always, always prime with the gray, spray paint primer.
It makes the color coat go on so much better.


Step 3.
I added color.
Once the primer coat dried, I sprayed the trophy tops and with the assortment of colors that we had on hand.
The kids were taking these trophies very seriously and wanted them all to be gold.
But since I was going for the tongue in cheek look, I went with color.
Also, some did have writing on them and I wanted to cover that up.
Mostly though, they just looked way more awesome when they were sprayed up.


Step 4.
I made bases for the trophy tops.
I wasn't sure what to use for the bases.
Cutting wood blocks and then drilling holes into those blocks was way more work than I had time for.
Instead I bought some large pieces of Styrofoam in the florist section of Michal's.
I cut it in squares, and spray painted each square to match its trophy top.
Step 5.
I attached the trophy tops to the bases.
This part was easy.
You can do almost anything with hot glue.
Using the trophy tops themselves, I poked a hole into the top of each Styrofoam piece, filled the hole with hot glue, and then stuck the trophy top into the hole.
They stayed put and I had a nice little trophy base.


And despite the fact that they were meant to be tongue in cheek, I think the trophies turned out pretty nice.
On the party day, I displayed them with all the dignity due them.


Making the Voting Ballots
The voting ballots were even easier to assemble.
I used library pockets and library cards to make each ballot.
(These are the same library ballots I used to create my business cards for my blog.  They have come in very handy for other projects.  I just love the nostalgic feel of them.)
I purchased the library pockets and cards at a Lakeshore Learning Store, but you can get them online via Amazon if you don't have a Lakeshore store or other teacher supply store near you. 
(Lakeshore doesn't sell these online--only in their brick and mortar stores.  The Amazon links are provided above.)


On the outside of each ballot, I stamped the word, VOTE.
Inside each ballot was a library card with the 10 categories written on the card.
You can see all the categories here.
I hand wrote each card because I was only doing 10.
But if you had a lot to do, you could easily make 1 and photo copy it.


For the voting
When the dioramas were finished, each participant was given a ribbon with a number on it.
They put the ribbon next to their diorama and then all the dioramas were put on display together.
(I made the ribbons with brown painters paper, a circle hole punch, some colored paper taped to the circle, and my stamps to stamp a number on the circle.
They turned out cute and were easy to make.)


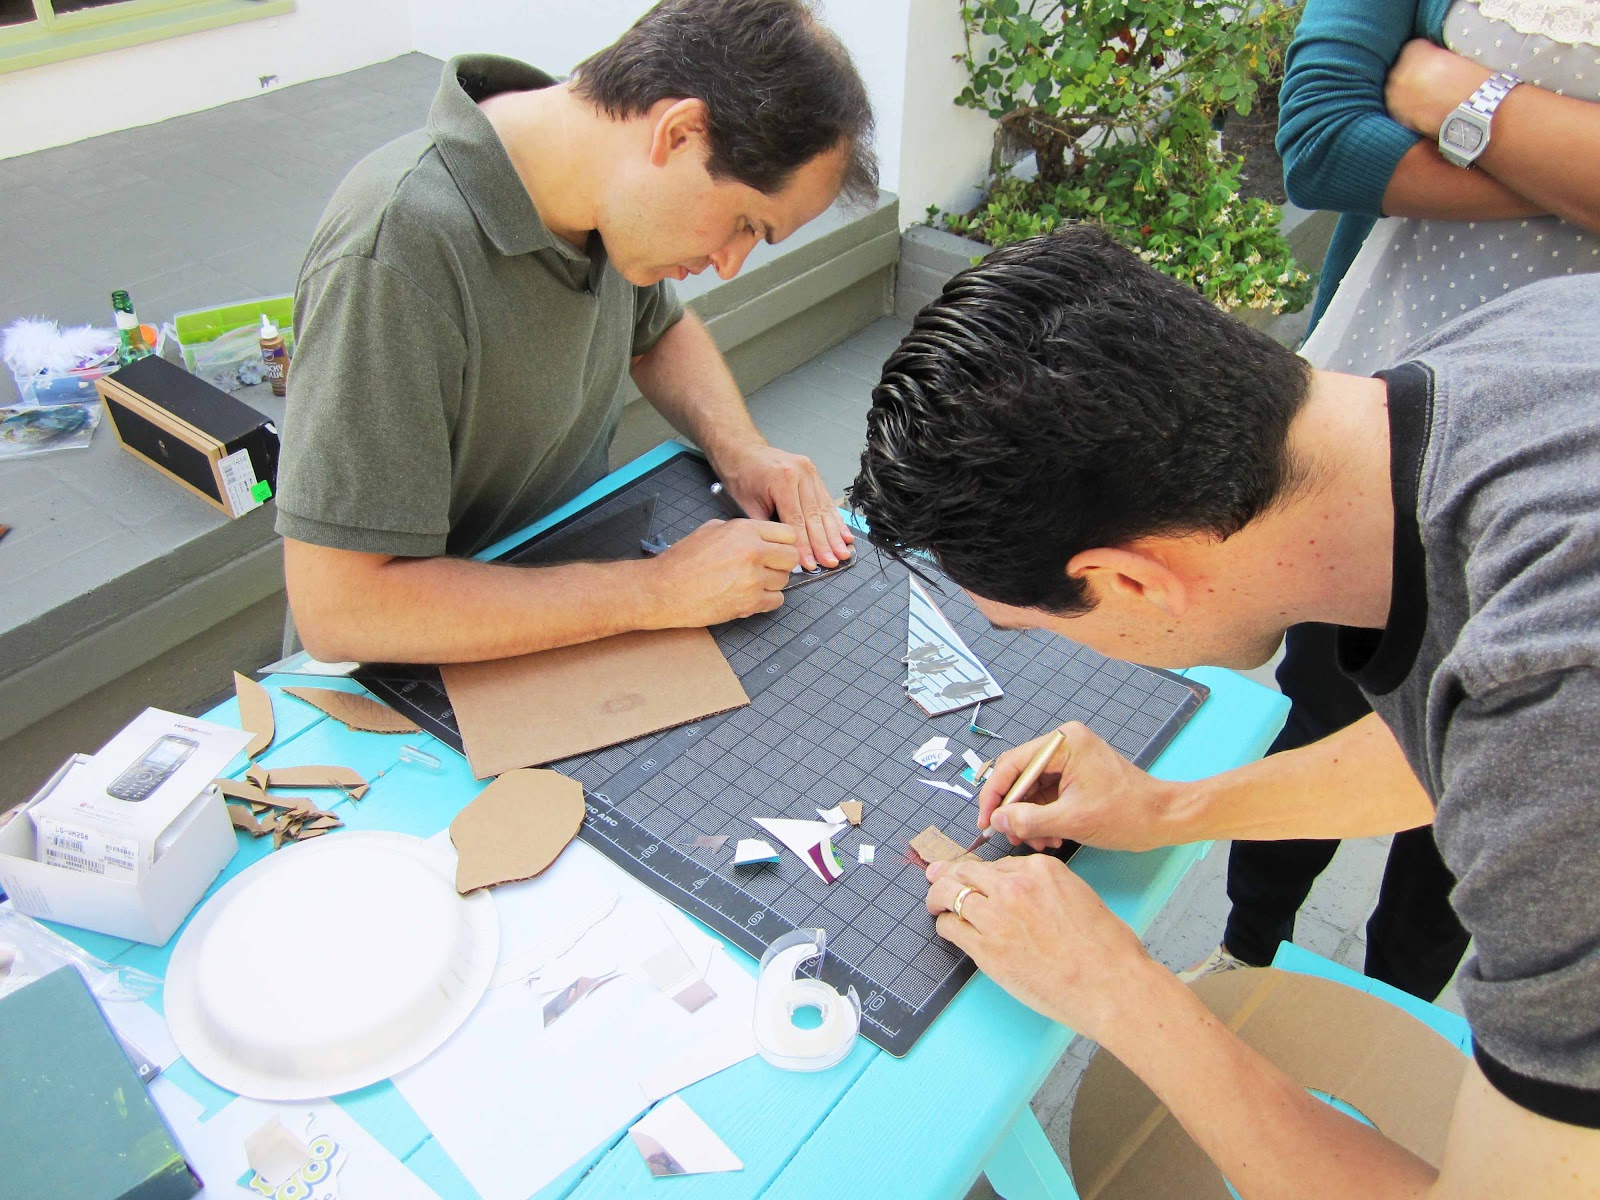
Then everyone looked at each diorama and placed it in the category they thought fit it best.
For example, Aaron's trailer was given the #2 ribbon.
So everyone looked at their ballots and put a #2 next to the category they thought best fit Aaron's trailer.
He ended up winning the Craftsmanship category.


All the guests were very nice and pretended to take the voting seriously.
They humored me, the voting ballots, the spray painted trophies and the award ceremony.
Except for the 8 year old guests.
They took the voting very seriously.
There was no pretending about it.
I appreciated everyone's response to this part of the party--those who humored me and those who took it seriously.
Either way, it was fun.
And that was what this was all about.


Were the participants stoked to get their trophies?
Heck yeah they were!


Should you make home made trophies, voting ballots and hand out awards at a crafting party?
For grown men or little kids?
Heck yeah you should!

Next up, Rhubarb Snacking Cake.
And then I have a list a mile long of other topics  want to write about.
It's summer--maybe I'll get to it!

Love from,
Greta

Wednesday, June 13, 2012

So You Want to Throw a Diorama Party? Here's How

How does one throw a  diorama party, you ask?
Turns out, a diorama party is actually one of the easier parties I have thrown.
Mostly what you need is a lot of "stuff".
We found a lot of our "stuff" at a this place. (post on it forthcoming.  it's too cool a place not to talk about at length.)
It's a place where you can find jars full of marbles, bottle caps or buttons at 5 cents a scoop.
Rolls of yarn, old record covers, and cardboard in every conceivable shape of size on available to you for pennies.
It's diorama paradise.
We walked out with a bag filled to the brim with "stuff" and I spent only $4.

On the day of the party, you'll want to lay out all your supplies.
I grouped things loosely, and wasn't too uptight about things being beautifully displayed.
(although I had to fight the urge. trust me.)
Because I knew that once artists start to create, keeping everything in pristine order can kill the creative vibe.
Here are some of the supplies we had out for building the dioramas.


Paint, brushes, small pieces of Styrofoam, string, rubber bands, markers, wood glue, tacky glue, rulers, hole punches. and staplers.
There were lots of options for sticking things together.
Besides the wood glue and tacky glue, there was duct tape, masking tape, washi tape, double stick tape and, of utmost importance, a glue gun.
But no elmer's glue.  It takes too long to dry.  Speed is important here.
Then there was a bunch of the "stuff" all jumbled together.
There were buttons, old Christmas ornaments, pictures, floral wire, Popsicle sticks, toothpicks, clothes pins, a few plastic figurines, corks, pipe cleaners, wooden skewers and wooden dowels of different sizes.
A lot of this stuff I found in the house or garage.
You'll be amazed at all the building supplies you have in your house once you start looking.


There was spray paint. 
Of course.
And lots and lots of cardboard.
We had piles of cardboard, colored paper and random printouts of cool things.
Like I said, the set up for a diorama party isn't particularly pretty.
(i'm sure martha could have made it pretty.  but i have neither the staff not the unlimited budget that martha has to make anything , so i had to be cool with piles of cardboard on the ground rather than in perfect, matching containers.)
Another must have for the party is a place to plug in the glue gun.
(having more than one glue gun and lots of extra glue sticks is helpful)
It's also good to have exacto knives and a cutting mat on hand for cutting out of intricate designs.
Tape measures, a power drill, small hand saws, pliers and a screwdriver or 2 are all handy tools to have out, depending on the level of building going on at your party.
(8 year olds might not be needing the power drill.  but you never know.)
Lastly, you'll need lots of room for everyone to spread out.
And then, you step back and watch the magic happen.
Check out these artists at work.


If you're hosting an adult diorama party, you'll want to have your younger guests not be too young.
Otherwise, you'll be spending all your time helping them and not creating your own diorama.
James was the perfect age: old enough to build without assistance and old enough to be engaged by everyone else's projects.

I highly recommend doing this party with younger kids, just know that they'll need more help.
But they will really have a lot of fun.
William and Lilly have been sitting in the driveway making their own dioramas since Sunday and having a blast.
Lilly is nearly 4 and very capable of executing her own ideas with just a bit of help.
Again, much of their enjoyment comes from not micro-managing their projects and letting them spread out and make a mess.
And I think having some examples to inspire them would not be a bad thing.
Don't expect them to copy the examples--that can be a creative killer for a little kid.
Instead, show them all the different kind of magic they can make with a cardboard box and some glue.


It's really fun to see everyone's ideas coming together, but it does take time.
I opted for no end time to this party because I didn't want anyone to feel rushed.
It seemed most people needed a minimum of 3 hours to get their diorama done.
The kids got done more quickly.
Spray paint, string and a cardboard box becomes a chicken coop.


Bottle caps and cardboard become wheels and hubcaps.
This one has a fan in it that actually turns on and spins the people hanging from the top of the box.
The only limit to your diorama is your imagination!

Once everyone finished their diorama, we lined them up for pictures, voting and trophy giveaways.
Next up I'll show you how I made the trophies, and the voting ballots.
The fun doesn't stop!
Love from,
Greta